If you’re like me, your golf cart is more than just a tool; it’s a reliable friend on the course and essential component of your golfing schedule. A malfunction in anything like a solenoid can throw off your whole performance. Although testing your golf cart solenoid sounds difficult, with some direction you can manage this chore yourself. Whether your golf cart solenoid runs 36-volt, 48-volt, or gas-powered, this article will guide you what you need to know about testing it.
Understanding Golf Cart Solenoids
What is a Golf Cart Solenoid?
When you press the accelerator, a solenoid in a golf cart functions like a switch letting the battery power run to the motor. Your cart wouldn’t move without it. Most often 36V and 48V for electric golf carts, solenoids exist in a variety of forms and voltage ratings; slightly different ones for gas golf carts.
Common Signs of a Faulty Solenoid
Let’s first discuss some typical symptoms of a damaged solenoid before delving into how to test one on a golf cart:
- The cart stays stopped when you press the accelerator.
- You hear a clicking sound without any movement.
- The cart intermittently stops and starts.
Importance of Regular Solenoid Maintenance
Why Regular Checks Matter:
The lifetime and constant operation of your golf cart depend on its solenoid being maintained. Frequent inspections can help you spot possible problems before they become big concerns, therefore preventing unplanned course breakdowns. Maintaining proper solenoid condition guarantees that your golf cart runs without problems, thereby enabling you to concentrate on your game instead of mechanical problems.
Common Maintenance Tips:
Consider the following maintenance advice to keep your solenoid in best shape:
- Monthly Inspections: Look for any wear, corrosion, or damage on the solenoid often. Look especially at the terminals and connectors.
- Clean Connections: Make sure all of your electrical connections to the solenoid are secure and clean. Either poor performance or solenoid failure can result from loose or corroded connections.
- Test Voltage: Periodically check the voltage across the solenoid to make sure it is running within the range specified for your golf cart.
- Replace When Necessary: Don’t wait to replace the solenoid until it fails totally. If you see sporadic problems or other wear indicators, think about replacing it early on.
Differences Between Solenoid Types
Electric vs. Gas Solenoids:
Although solenoids are used in both electric and gas-powered golf carts, their operations and features vary greatly. The solenoid in electric golf carts drives the motor from battery power when you push the accelerator. Usually, the solenoid in gas-powered carts runs the starter circuit. Knowing these variations guarantees you are applying the correct testing techniques for the particular configuration of your cart and helps you more precisely pinpoint problems.
Voltage Variations (36V vs. 48V):
Commonly fitted with either 36V or 48V systems, golf carts need a solenoid matching the voltage of the battery pack. Typically available in more recent or more powerful versions, the 48V systems provide higher torque and economy. Knowing the voltage of your cart can help you to avoid installing an incompatible part while testing or replacing a solenoid, so preventing additional problems.
Troubleshooting Other Electrical Issues
Battery and Motor Issues:
Often what appears to be a solenoid issue has something to do with the motor or battery. If your cart isn’t moving, for instance, the problem can be with the motor’s connections or the charge of the battery rather than the solenoid itself. Start by verifying the battery voltage and motor connections before testing the solenoid to precisely identify the issue. Should these parts be in good shape, the solenoid most certainly has a defect.
Common Misdiagnoses:
One common error in diagnosing solenoid problems is presuming, from a malfunctioning solenoid, that a no-start state is always resulting. But a poor battery, unsecured cables, or even a broken key switch might also be the culprit. When a solenoid clicks but the cart does not move, another misdiagnosis results; this may point to a motor rather than a solenoid problem. Test all associated components methodically to steer clear of these traps.
Tools and Equipment Needed
Get the following ready before you begin testing your golf cart solenoid:

- Important Tips – This CM2K0R clamp meter can not test DC Current. To measure the AC Current you need to clamp the meter around one of the wires and not the whole power cord. Ensure the conductor to betested is in the center of the clamp head. The clamp Jaw is only used to measure current. Do not measure voltage by clamping the conductor being measured.
- Versatile Digital Clamp Meter – Accurately measures AC/DC Voltage, AC Current, Capacitance, Resistance, Diode Continuity and Live Wire Tests. This clamp meter is a really useful tool for solving industrial and household electrical issues.
- Thoughtful Design – Support Data Hold, Max/Min, Auto Shut-off, low battery indicator and continuity buzzer. Includes Convenient features like Audial and Visual Alarm, LCD Backlit Screen and Flashlight make it easy to use. Two 1.5V AAA batteries are included in the package.
- Wrenches
- Screwdriver
- Safety gloves and goggles
Safety first: Make sure your golf cart runs on a level, steady surface and always don protective gear. Before doing any electrical repair, disconnect the battery.
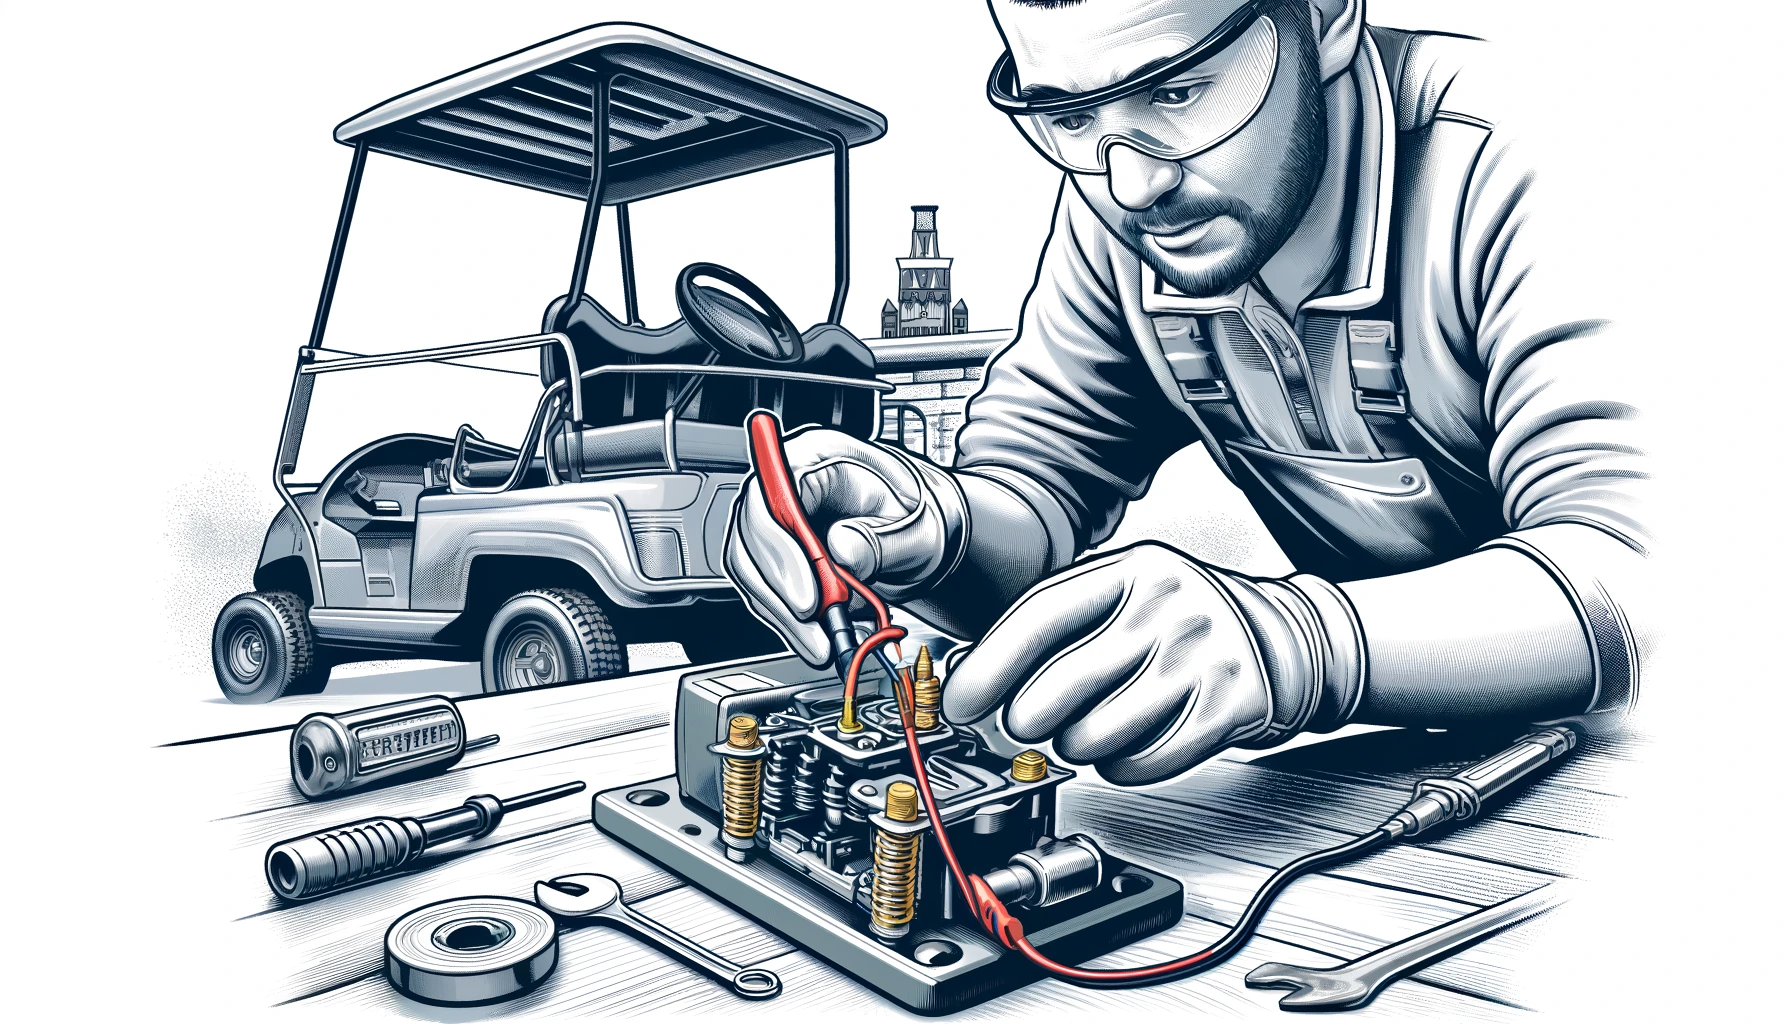
General Steps to Test a Golf Cart Solenoid
Here’s a quick review of solenoid testing on a golf cart:
- Disconnect the Battery: Always unplug the battery before handling the electrical system of your golf cart to guarantee safety.
- Locate the Solenoid: Usually found under the seat or near the battery pack, locate the solenoid.
- Inspect for Visual Damage: Look for any obvious wear or damage on this.
Testing Specific Voltage Solenoids
How to Test a 36 Volt Golf Cart Solenoid
- Reconnect the Battery: Reconnect the terminals of the battery.
- Set the Multimeter: Your multimeter should be set to gauge voltage.
- Test Voltage: Place the multimeter leads on the large terminals of the solenoid. Press the accelerator; you should see 36 volts. If not, the solenoid may be faulty.
How to Test a 48 Volt Golf Cart Solenoid
Testing a 48V solenoid is similar to testing a 36V one, with a few adjustments:
- Set the Multimeter: Adjust your multimeter to measure higher voltage.
- Test Voltage: Connect the multimeter leads to the solenoid’s large terminals. Press the accelerator. You should read around 48 volts.
Testing with a Multimeter
How to Test a Golf Cart Solenoid with a Multimeter
Using a multimeter can give you a precise diagnosis:
- Set to Ohms: Switch your multimeter to the ohms setting.
- Check Continuity: Check continuity by orienting the solenoid’s tiny terminals with the leads. The solenoid coil is intact whether the multimeter beeps or indicates continuity.
- Check Voltage Drop: Press the accelerator, then arrange the leads on the big terminals and look for voltage decrease.
Bench Testing a Golf Cart Solenoid
How to Bench Test a Golf Cart Solenoid
Sometimes, bench testing can give you a clearer picture:
- Remove the Solenoid: Take the solenoid off of the cart.
- Connect to Power Source: Use a 12V power supply and link it to the little terminals.
- Check for Activation: If the solenoid clicks and continuity is established between large terminals, it’s working.
How to Bench Test a Golf Cart 36 Volt Solenoid
For a 36V solenoid, follow similar steps but ensure you use a compatible power source to mimic the cart’s power system.
Testing Gas Golf Cart Solenoids
How to Test a Gas Golf Cart Solenoid
Testing a gas golf cart solenoid involves similar steps but with considerations for the gas engine:
- Locate the Solenoid: Typically near the starter or battery.
- Test for Click Sound: Turn the ignition key. If the solenoid clicks but the engine doesn’t start, further testing is needed.
How to Test a Solenoid on a Gas Golf Cart
- Set Multimeter to Voltage: Measuring voltage across the solenoid when you try to start the engine will set the multimeter.
- Check Connections: Make sure all of your connections are free of rust and tight.
Testing Solenoid Components
How to Test a Golf Cart Solenoid Diode
Diodes control the current direction in the solenoid:
- Set Multimeter to Diode Test: Place the leads on the diode terminals.
- Check Readings: You should get a reading in one direction and not the other. If not, the diode is faulty.
How to Test a Golf Cart Solenoid Resistor
Resistors limit the current in the solenoid:
- Set Multimeter to Ohms: Measure resistance across the resistor.
- Check for Consistency: Compare readings to manufacturer specifications.
Troubleshooting and Next Steps
Common Issues Found During Testing
Some common issues you might encounter include:
- No voltage reading: Could indicate a bad solenoid or connection issue.
- Intermittent issues: Might suggest loose connections or internal solenoid problems.
What to Do If the Solenoid Fails the Test
If your solenoid fails any of these tests:
- Replace the Solenoid: Replace the solenoid; usually, this is more affordable.
- Check Other Components: Verify other components including the battery and motor to be in good operating order.
When to Replace the Solenoid
Replace the solenoid if:
- It shows no continuity or incorrect voltage readings.
- There’s visible damage or corrosion.
Upgrading Your Golf Cart Solenoid
When to Consider an Upgrade:
It could be time to think about replacing your solenoid if your golf cart is having trouble with power delivery or if you have regular solenoid problems. An updated solenoid can provide higher performance, longevity, and even help your golf cart run more efficiently generally. This is particularly true should you have added other changes to your cart, such upgrading the motor or adding a higher voltage battery pack.
Choosing the Right Solenoid:
Choosing a new solenoid requires matching it to the requirements of your golf cart. Think about these elements:
- Voltage Compatibility: Make sure the solenoid, say 36V or 48V, fits the voltage of your cart.
- Continuous Duty vs. Intermittent Duty: While intermittent duty solenoids are suitable for occasional use, continuous duty solenoids are built for long-term operation and ideal for carts used repeatedly.
- Amperage Rating: Choose a solenoid with an amperage rating that will control the power consumption of your cart especially if you have changed the motor or battery.
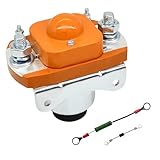
Click here for the bestselling solenoid on Amazon.

- 36 Volt 4 terminal SPNO heavy-duty solenoid for…
- Replaces part#: 70-120224, 11761GA, 11761-G1,…
- Also for Columbia Par Car 71468-85, Melex 300668,…
- Acts as the conduit between the golf car battery…
- Clamping the ends of the wires between inner and…

- 4 Terminal 12 volt solenoid for 1984-up Club Car…
- Replaces part number: 1013609, 1012275, 435-154,…
- Copper contacts providing lasting performance
- Voltage: 12V, Working Current: less than 200A,…
- Warm reminder: keeping around 80A current can…

- 1. Model: EZGO TXT 48V solenoid for electric…
- 2. Skills: Silver contacts help improve product…
- 3. Package Contents: 1pcs EZGO TXT 48V solenoid.
- 4. Notice: Not intended for 36-Volt Vehicles or…
- 5. Warranty: Geggkake will provide 1-year warranty…
- Part Number: MZJ-400A
- Compatible With Heavy Duty Golf Cart
- Mounting Hole Diameter: 6mm / 0.24 Thread Size:…
- Voltage: 48V Current: 400A
- It Is a Replacement Part, Not Original Part. But…
Conclusion
Testing your golf cart solenoid need not be frightening. Using the correct tools and procedures can help you to quickly identify and resolve problems, therefore guaranteeing the smooth running of your cart. Frequent inspections and maintenance help to prevent unanticipated course malfunctions.
Additional Golf Cart Battery Resources
- How to Replace a Golf Cart Solenoid
- How Many Batteries Does a Golf Cart Take: The Complete Guide
- How to Test Golf Cart Batteries: The Complete Guide
- How Much Are Golf Cart Batteries?
- How Long Does It Take to Charge a Golf Cart: Complete Guide
- How Long Do Golf Cart Batteries Last?
- Golf Cart Battery Water: Complete Maintenance Guide
With these steps, you’ll be back on the fairway in no time, enjoying your game without any interruptions from a faulty solenoid. Happy golfing!